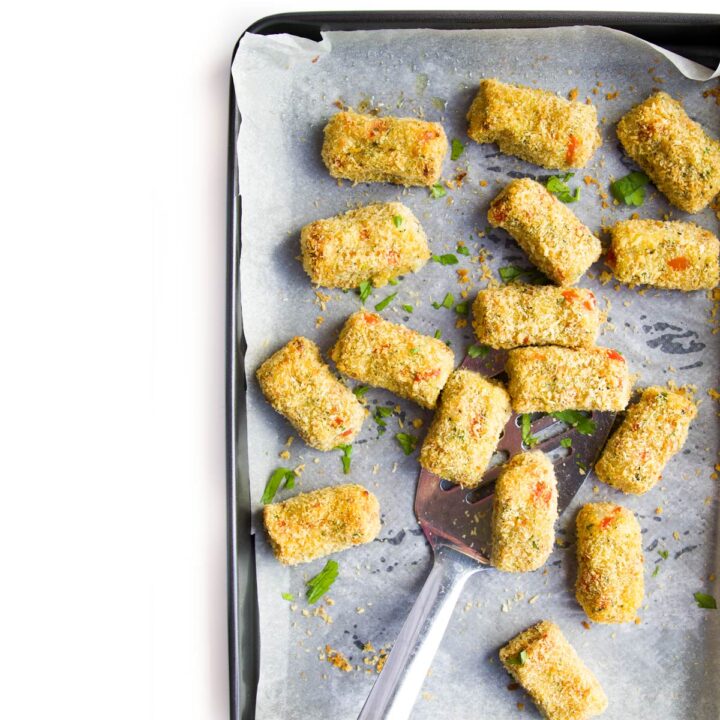
These baked Veggie Nuggets are made with wholesome cannellini beans (white kidney beans) and coated in a crispy layer of breadcrumbs. Each bite offers a creamy, melt-in-your-mouth interior and a satisfyingly crunchy exterior, creating a delightful contrast of textures.
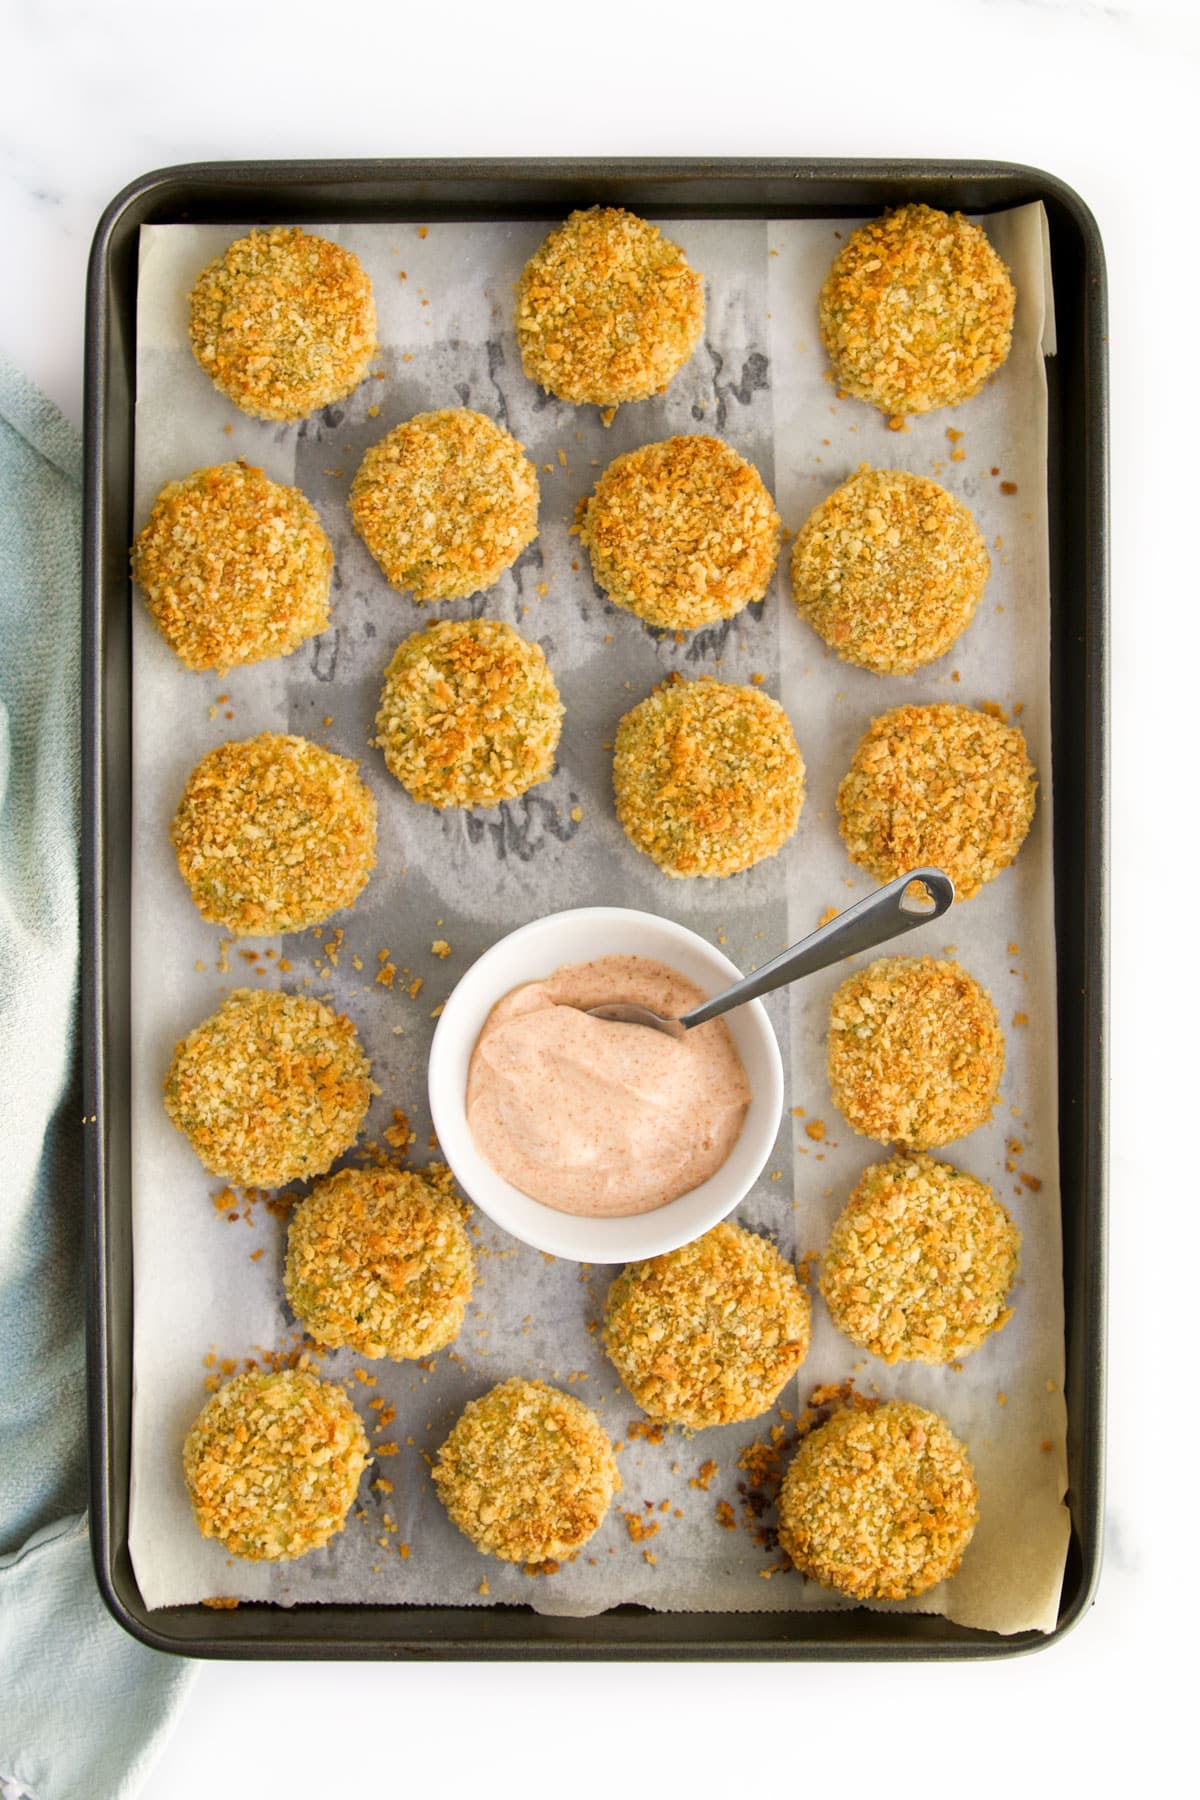
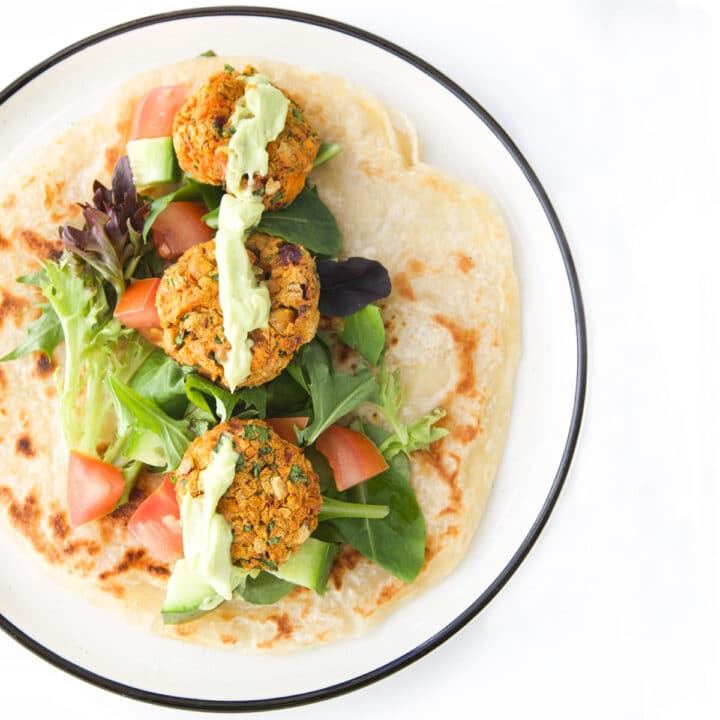
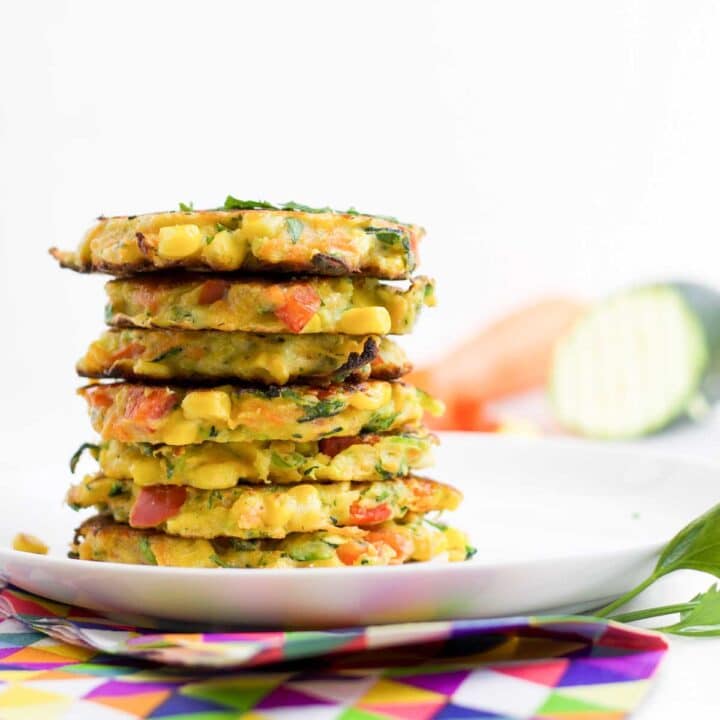
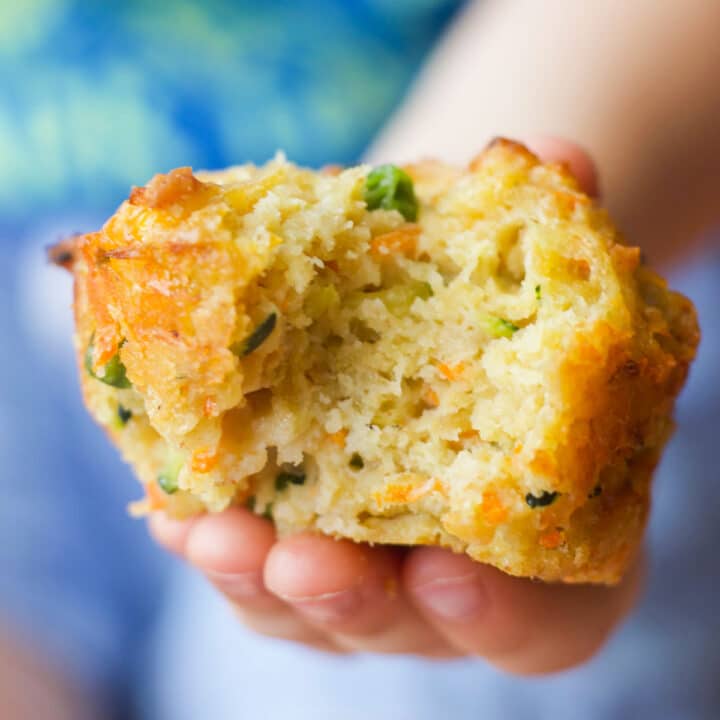
There are a variety of finger foods available on this site, you'll find options like quinoa chicken nuggets, lentil croquettes, tuna fish cakes, zucchini fritters chickpea pancakes, veggie tots and quinoa balls. Kids are naturally drawn to finger foods they can dip, and these veggie nuggets are no exception.
Jump to:
Reasons to Love these Nuggets
- Nutritious: These nuggets are made with a blend of nutritious ingredients like white beans, zucchini, carrots and eggs, providing essential vitamins, minerals and fibre.
- Versatile: Can be served as a snack, appetiser or even as part of a main course alongside some carrot fries or sweet potato wedges, salad and some tasty dips.
- Kid Friendly: Most kids adore nuggets and with their appealing texture and mild taste these nuggets are sure to be no different. This recipe is also great for getting kids in the kitchen too, with plenty of tasks that they will enjoy such as grating, pressing buttons on the food processor, forming nuggets and coating them. Read more about the many benefits to cooking with kids.
- Baked: Baking these veggie nuggets is not only healthier it is also a lot more convenient. Unlike frying, baking is a hands-off cooking method allowing you to utilise that time to focus on other tasks.
- Prep Ahead Option: These nuggets can be easily prepared in advance and baked whenever needed.
Video Tutorial
Ingredient Information (and Alternative Suggestions)
For the full recipe, with ingredient amounts, scroll to the recipe card at the bottom of the post.
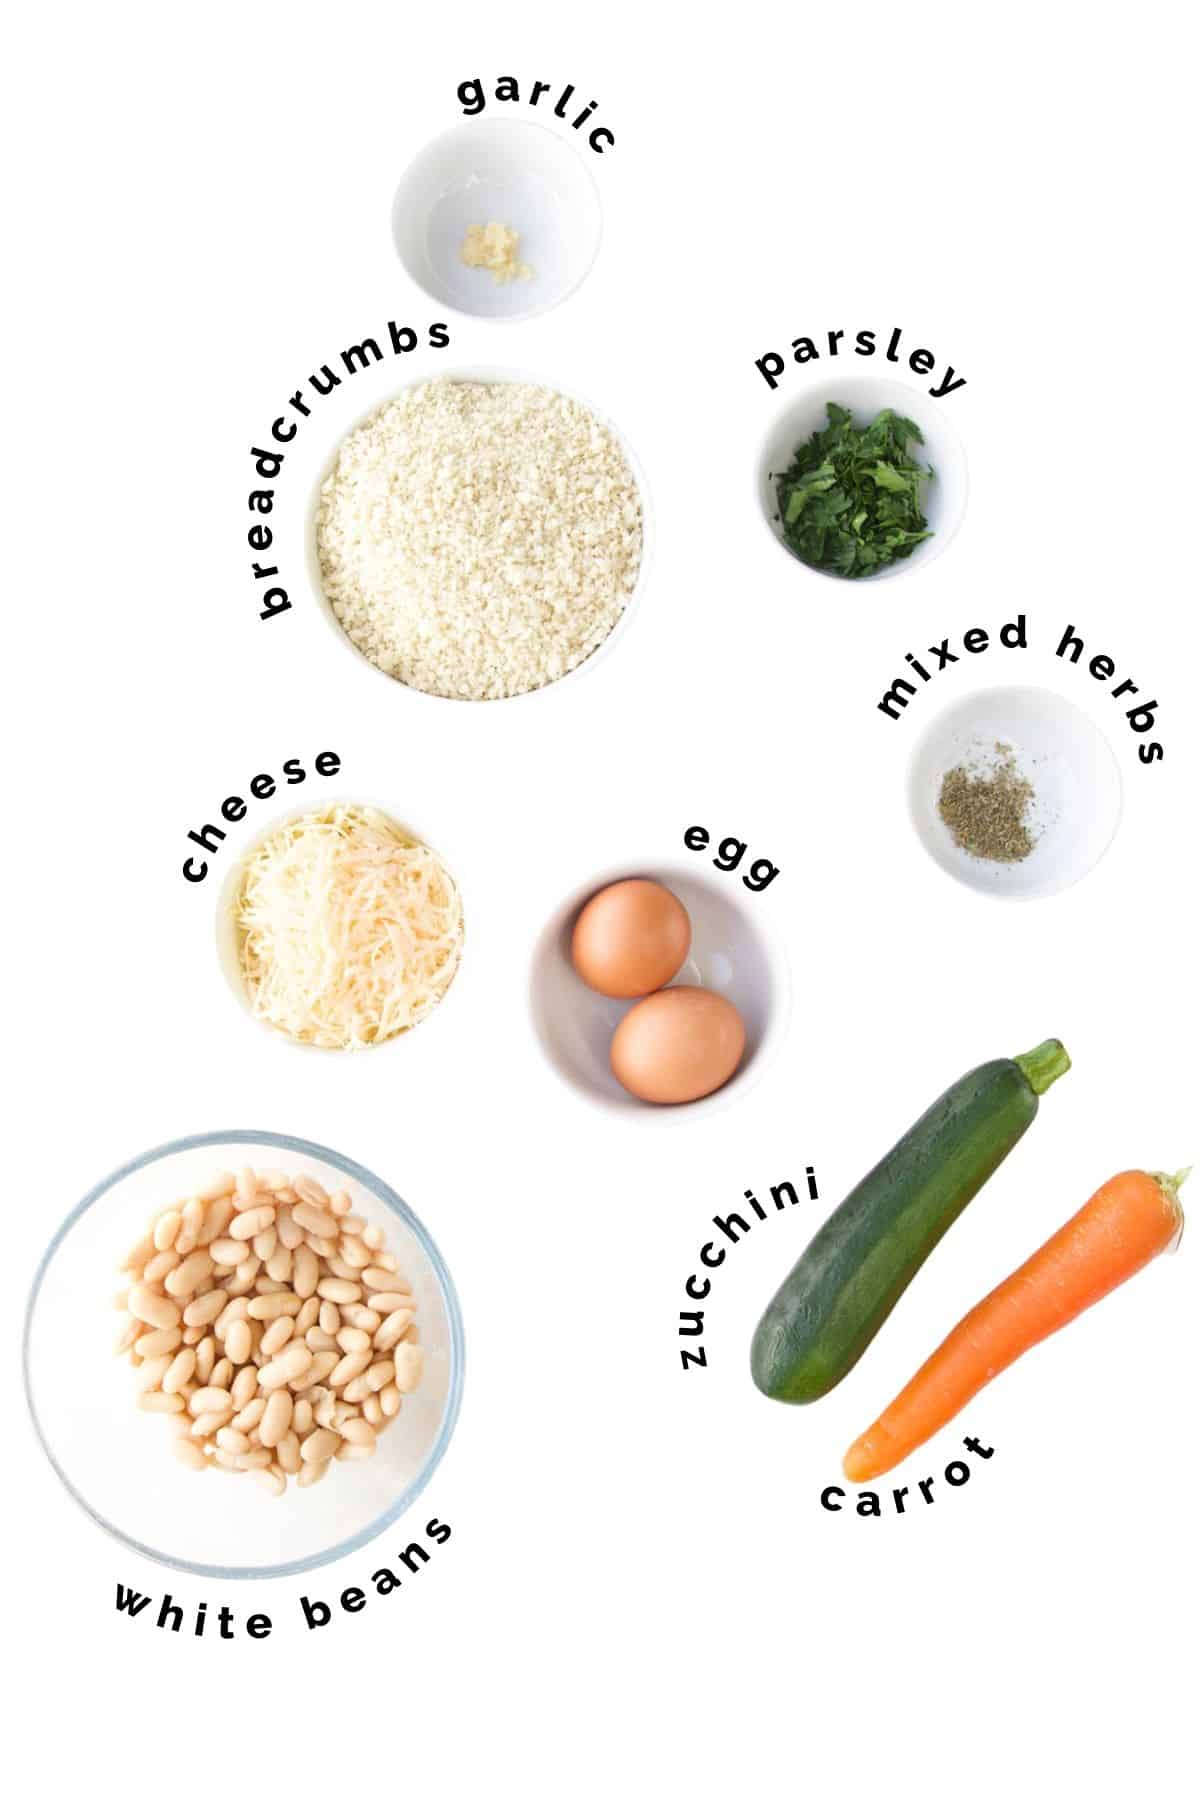
- Carrots and Zucchini (courgettes): Provide nutrition, natural sweetness and moisture to the nuggets. Other vegetables, such as peas or broccoli may be used. Keep the ratio the same and pre-cook broccoli.
- Cannellini Beans (white kidney beans): Contributes plant-based protein and a creamy texture.
Other options include, but have not been tested, red kidney beans, navy beans, chickpeas, and lima/butter beans. - Cheddar Cheese: I always use mature cheddar. I find it produces the best flavour and you don’t have to add so much to get the desired flavour.
If your child is dairy intolerant, or you wish to reduce sodium levels for younger children, you can miss it out but you may need to add some nutritional yeast/extra herbs to make up for the lost flavour. - Herbs: I've used both fresh and dried herbs for flavour. I often get questions asking what I mean by "mixed herbs", this is something that I pick up easily both in the UK and Australia but I can not recall if I bought it when I lived in the USA. It is just a blend of mixed dried herbs. Each brand differs but a typical mix includes basil. marjoram, oregano, rosemary, sage & thyme.
Feel free to experiment with other fresh or dried herbs. - Breadcrumbs: Breadcrumbs are used in both the mixture and the coating, providing a crisp outer layer. You can use dried or fresh breadcrumbs and gluten-free breadcrumbs can be used as an alternative for those with gluten sensitivity/allergy.
- Eggs: Eggs act as a binding agent, helping the nuggets hold their shape. They are also used to coat the nuggets.
I have not trialled the recipe with an egg replacement. If you have tried one, please leave a comment below as I would love to know what you used and how it turned out.
Step by Step Instructions (and Cooking Tips)
This section features step-by-step photos for visual reference. The complete recipe can be found by scrolling to the recipe card at the bottom of the post.
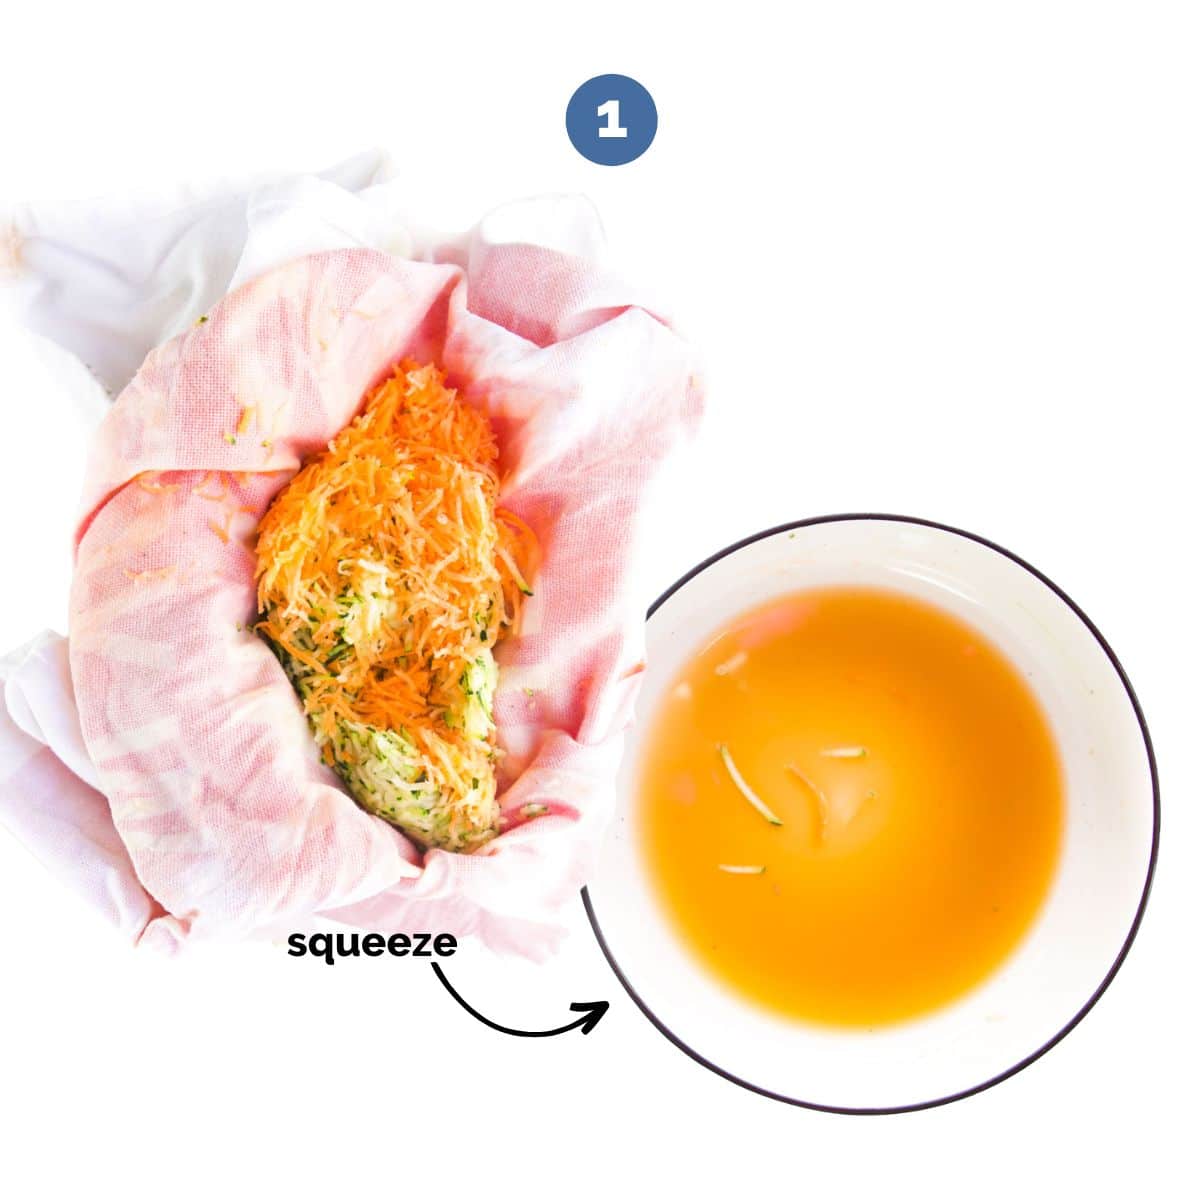
- Grate & Squeeze: Begin by finely grating the carrots and zucchini. I find using a food processor works great, but a box grater works too. Once grated, ensure to squeeze out the excess juice. I do this by placing the grated vegetables onto a clean towel and squeezing firmly. Skipping this step will result in a wetter nugget mixture.
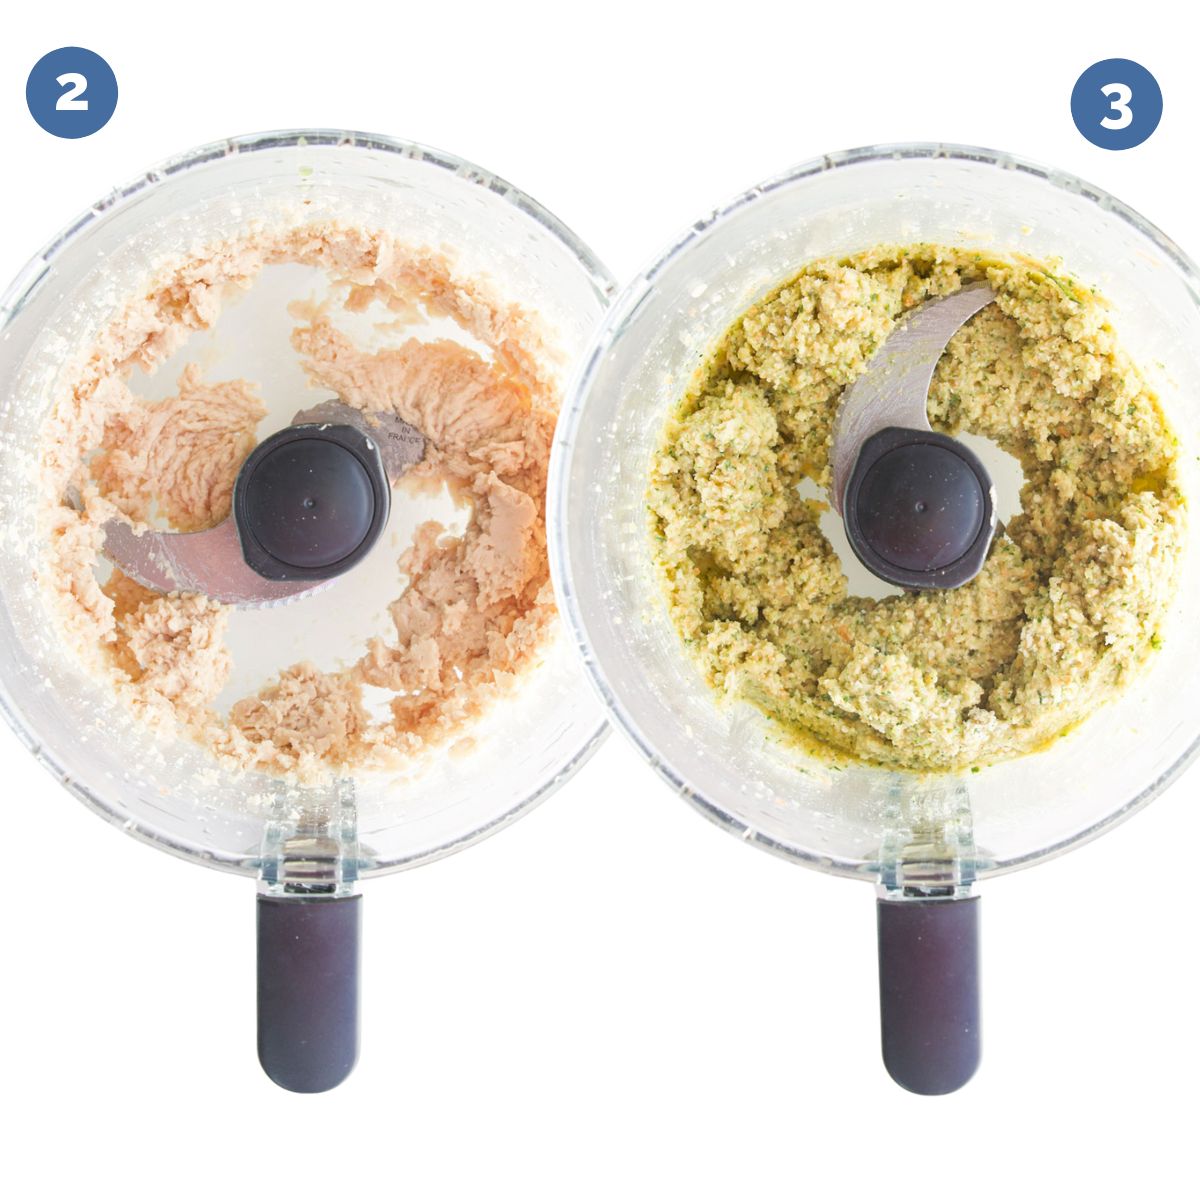
A helpful tip: Save the juice and use it in smoothies or sauces. – don’t throw away all that goodness! - Process Beans: Place the white beans into a food processor and process until they form a smooth, creamy consistency.
- Pulse remaining Ingredients: Add the grated carrots, zucchini, minced garlic, cheese and herbs to the processor. Continue to process until the ingredients are just blended together. Add the egg and breadcrumbs and pulse to combine.
A helpful tip: Do not overmix! Aim for a combined yet chunky texture, avoid a mushy consistency.
Chill: Transfer the mixture to the refrigerator and let it rest for approx. 15 minutes.
- Pre-bake Breadcrumbs (optional): For an extra touch of golden perfection (resembling fried nuggets), consider pre-baking your panko breadcrumbs before using them as a coating. While not essential, I find it convenient to toast them while I am forming the nuggets. You can read more about this technique in this recipe for salmon croquettes.
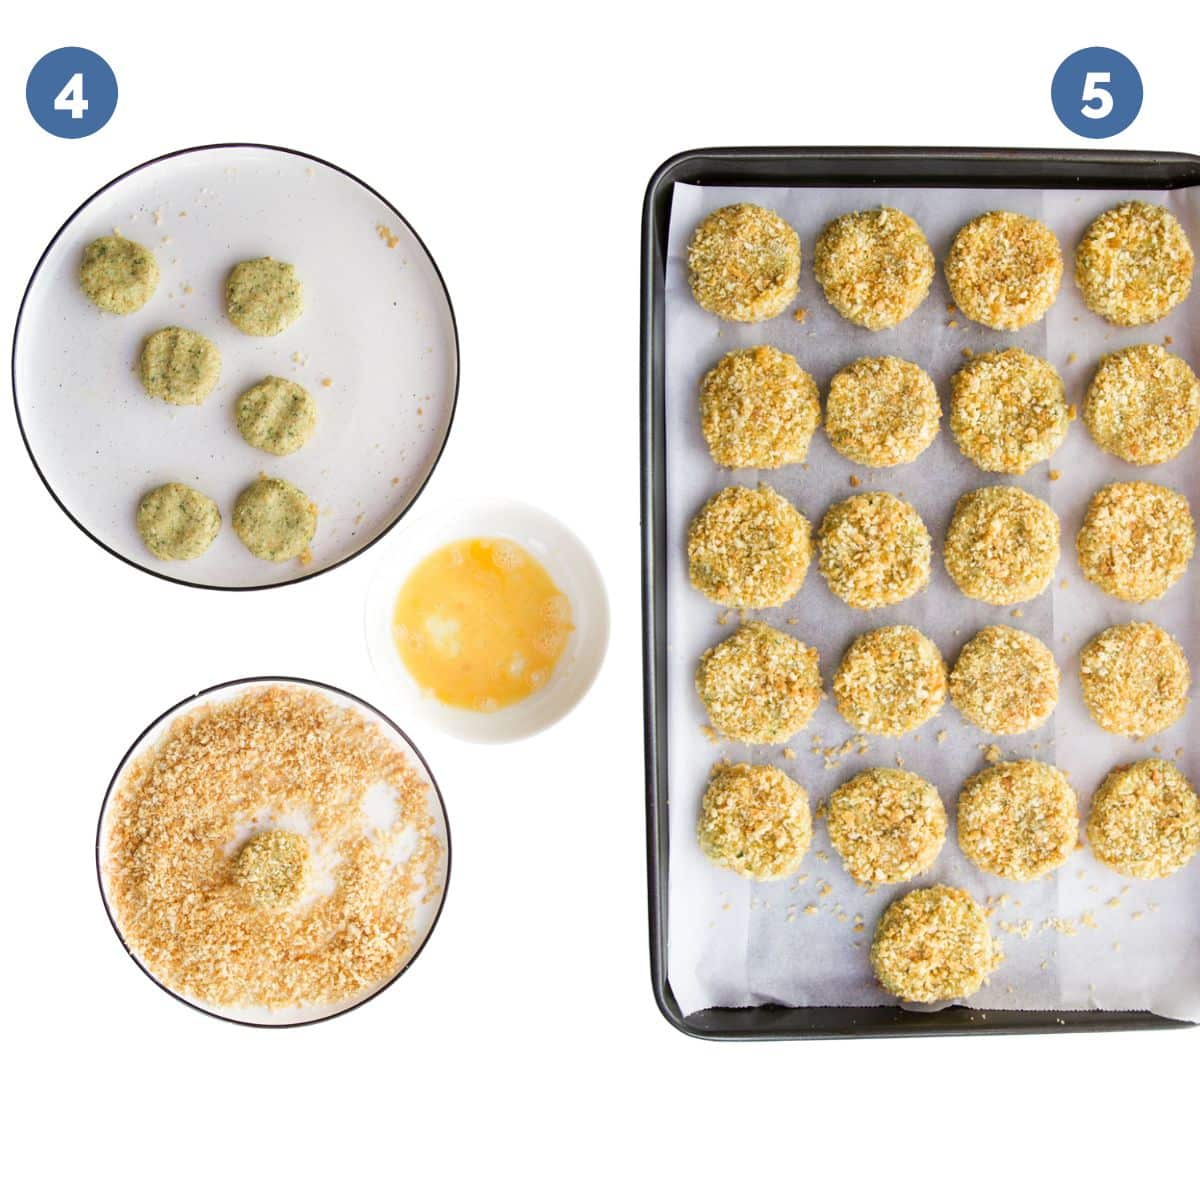
- Nugget formation and coating: Add an egg to a bowl and beat. Spread out the breadcrumbs on a flat plate. Using wet hands, take 1 tablespoon of the veggie mixture and shape it into a nugget. Dip the nugget into the egg and then roll it in the breadcrumbs to coat evenly. Continue this process with the remaining mixture.
- Bake: Arrange the coated nuggets on a baking sheet and bake for 20 mins.
Serving Suggestion
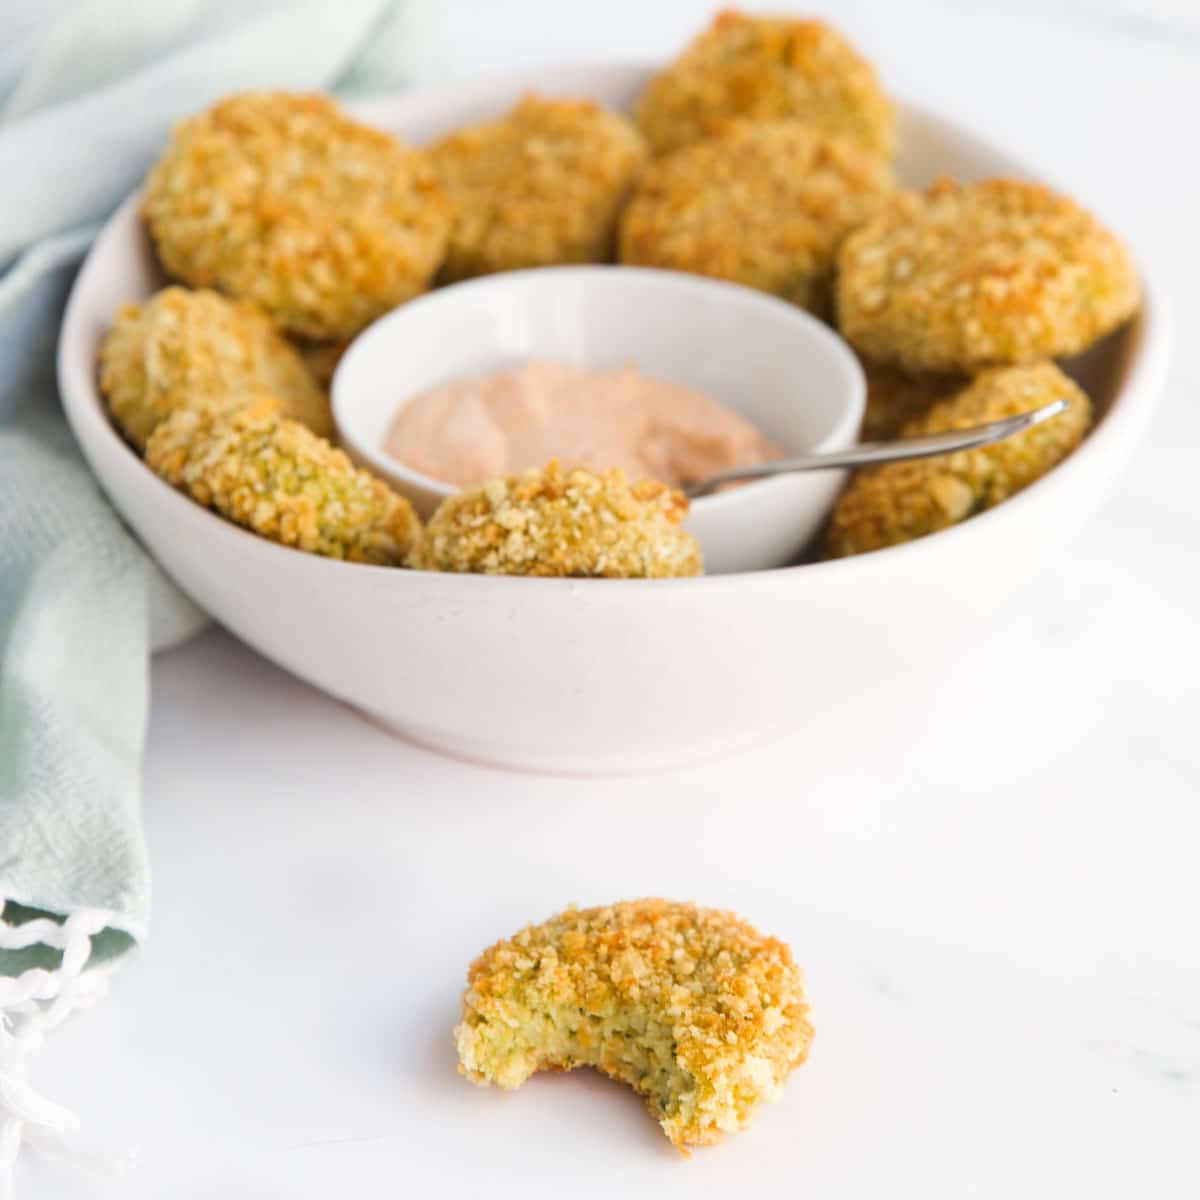
Enjoy these vegetable nuggets like you would any other nugget. They are delicious on their own, served with your favourite dip, a salad, fries or wedges. Why not try them with
- DIPS: Avocado dip, Beet Dip, Smoked Paprika Dip,
- SIDES: Carrot fries, Sweet Potato Wedges, Cauliflower Cheese, Roasted Parsnips, Roasted Courgette (Zucchini)
Recipe FAQs
Refrigerator: Store veggie nuggets for up to 2 days in the refrigerator.
Freezer: Place nuggets on a baking tray and place in the freezer until frozen. Transfer to a zip lock bag or freezable container and store for up to 2 months.
.
These veggie nuggets can be introduced when your baby reaches the finger food stage (6 months +). However, it is important to note that they contain common allergens like dairy, wheat and eggs. Allergenic ingredients should be introduced separately first to observe any potential allergenic reaction.
Please also note that you may wish to reduce or eliminate the cheese to lower the sodium content. Read more about salt for babies. You may also wish to skip coating the nuggets in the breadcrumbs. This will help to reduce sodium content and will result in a softer textured nugget.
More Veggie Finger Foods to Enjoy
Looking for more healthy kid recipes?Sign up for my free recipe newsletter to get new family friendly recipes in your inbox each week! Find me sharing more kid-friendly inspiration on Pinterest and Instagram.
Veggie Nuggets
Equipment
- Food Processor
Ingredients
- 1 Medium Zucchini (Courgette), grated Approx. 175g
- 1 Medium Carrot, grated Approx. 110g
- 1 400g / 140z Can of Cannellini Beans (white kidney beans), drained and rinsed
- ¼ teaspoon Garlic, minced
- ½ Cup (70g) Mature Cheddar, grated
- ¼ teaspoon Dried Mixed Herbs
- 1 tablespoon Fresh Parsley
- 1 Egg
- (½ Cup) 40g Dried Breadcrumbs I used Panko
Coating
- 1 Egg, beaten
- 1 cup (80g) Dried Breadcrumbs
Instructions
- Squeeze as much juice as you can from the grated carrots and zucchinis (i use a clean tea towel to do this)
- Put the cannellini beans into a food processor and process until smooth. Add the carrots, zucchini, garlic, cheese and herbs and continue to process until combined.
- Add the breadcrumbs and egg and pulse until combined.
- Place the mixture into the fridge for approx. 15 mins to firm up.
- Preheat oven to 220c / 200c (Fan), 425F. Line a baking sheet with baking paper.
- Place the beaten egg in a bowl and the breadcrumbs on a flat plate.
- With wet hands, take 1 tablespoon of mixture and form a nugget (I made mine round disks but you could also make them small tots). Dip in the egg and roll in the breadcrumbs to coat. Repeat with the rest of the mixture.
- Place on baking sheet and bake for 20 mins.
Video
Recipe Notes
- Carrots and Zucchini (courgettes): Grate the carrots and zucchini (I used the food processor but you can also use a box grater) and then squeeze out the juice. I do this by placing the grated vegetables onto a clean tea towel and squeezing hard! If you skip this step your nuggets mixture will be too wet. NOTE: Save the juice and use it in smoothies or sauces. – don’t throw away all that goodness!
- Breadcrumbs: I used panko breadcrumbs but you can use both dried or fresh. As panko breadcrumbs are pale I usually pre-bake them before coating the nuggets. This results in the breadcrumbs being a beautiful and golden colour. This is not a required step but I find it easy to toast them while forming the nuggets. You can read more about how to pre-toast the breadcrumbs in this recipe for salmon croquettes.
- Babies: If making for a baby, you may wish to reduce or skip the cheese to reduce sodium levels. You may also want to miss the coating step. This will produce a softer nugget that will also be lower in sodium.

Olivia
Another AMAZING recipe -- thanks, Amy! My daughter loves these... and so do I. I had to restrain myself from eating all of them.
Amy
Thanks so much Olivia, I'm so happy you are all enjoying the recipes 🙂
Ellie
Hi, would this recipe work without courgette? I'm thinking of adding peas instead. My fussy toddler loves your recipes so I'm going to give this a try today!
Amy
Thanks Ellie, yes that should work 🙂
Amy
Hi, in your Ingredients section, you list egg twice in the coating ingredients, but do not list eggs with the nugget ingredients. The post says to add an egg to the nugget mixture in the food processor. Is one of the eggs listed under the coating ingredients meant to be listed with the nugget mixture? Thanks! Really excited to try this recipe!
Amy
Hi Amy, thanks for picking that up. Yes, you are correct, I must have moved it to the wrong section by mistake. Thank you and I hope you enjoy them.
Bec
Could you freeze these pre- or post- baking?
Amy
Hi Bec, yes you can freeze them either before or after baking. Freeze on a baking tray until solid. Once solid transfer to a freezer bag and store for up to 2 months.
Alina
Love this recipe! So tasty and easy to make! Yummy also for adults
Amy
Fantastic! Thanks Alina 🙂
Devon
This looks great! Have you tried to make these with lentils? Do you think it would work? Thanks!
Amy
Thanks Devon, I haven't sorry but a great idea for a new recipe post 🙂