With just a few simple ingredients, you can create this fantastic sweet potato pizza crust. Make mini versions ideal for little ones, or a larger base perfect for family sharing.
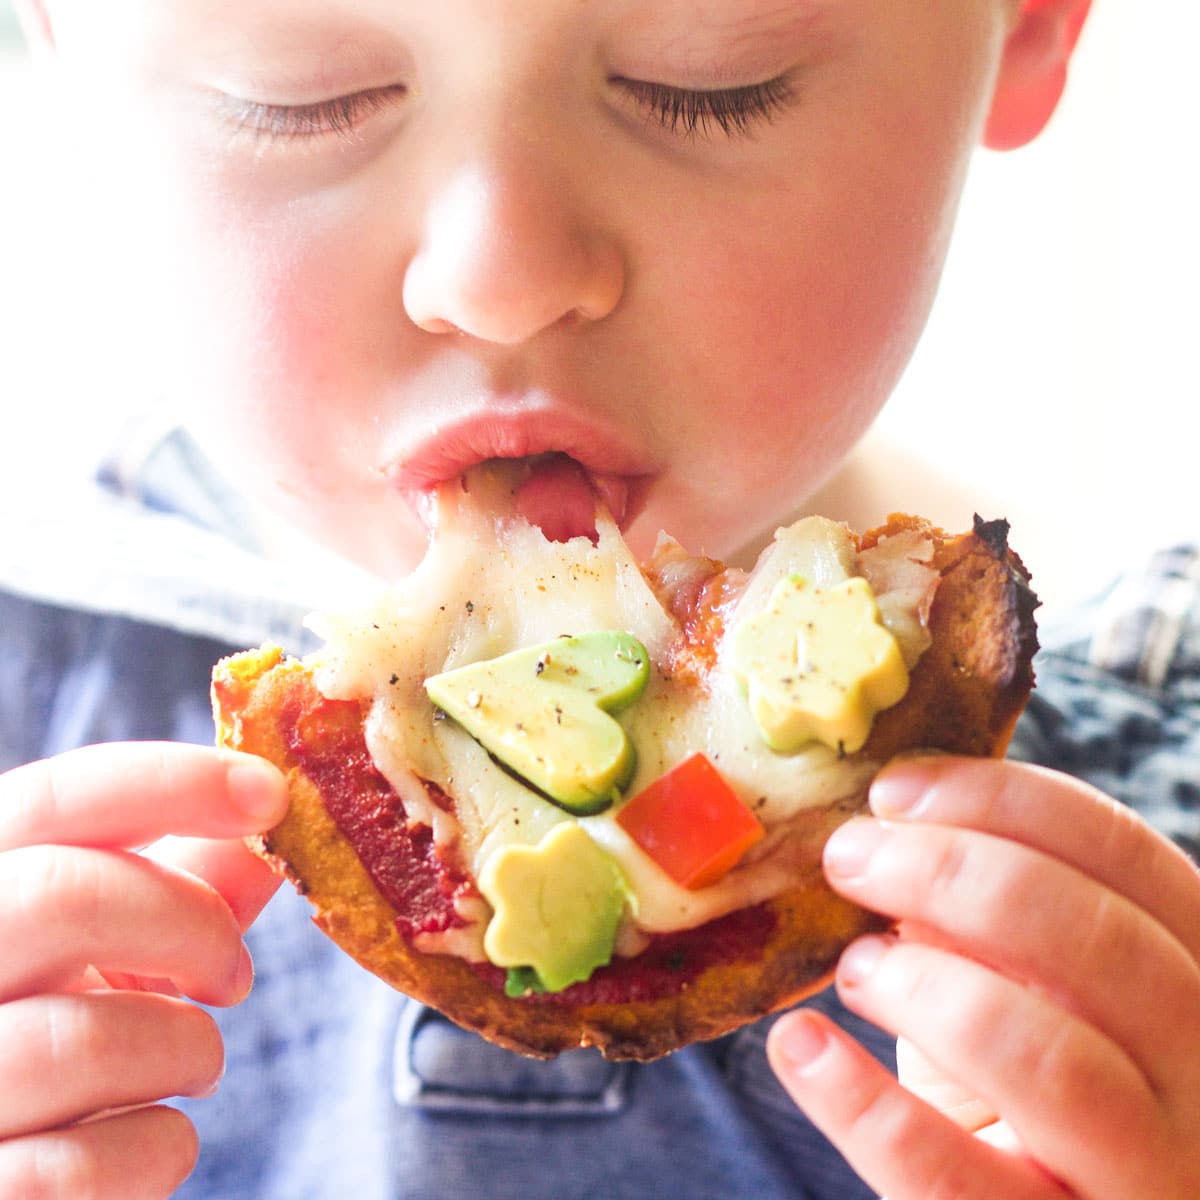
At Healthy Little Foodies Headquarters, sweet potato has been a staple in our meals since my boys were babies. It's such a versatile ingredient, perfect for both sweet and savoury dishes.
These sweet potato pizzas are a family favourite! For more delicious sweet potato recipes, check out our sweet potato crackers, sweet potato wedges, sweet potato curry, Asian-style sweet potato noodles, sweet potato muffins, sweet potato truffles and sweet potato brownies.
Jump to:
Reasons to Love this Recipe
- Versatile (Enjoy them sweet or savoury.)
- Freezer-Friendly (Great for meal plans.)
- Nutritious (All that sweet potato goodness.)
- Easy to Make (Get the kids involved!)
- Kid-Friendly
Ingredient Information (with Alternative Suggestions)
The full list of ingredients and amounts can be found on the printable recipe card at the bottom of the post. This section gives information on each ingredient and suggests alternatives if required.

- Sweet Potato: Use the orange-fleshed sweet potatoes with a golden skin (Beauregard). Other varieties haven't been tested.
- Oat Flour: Blend oats in a food processor until they reach a flour-like consistency.
- Egg: For an egg replacement, try a chia egg (reader-tested but not personally tested).
- Olive Oil
Step by Step Instructions (with Images)
This section features step-by-step photos for visual reference. The complete recipe can be found by scrolling to the recipe card at the bottom of the post.

- Cook Sweet Potato: Bake until very soft inside, about 50 minutes depending on size. For quicker results, microwave for 5-10 minutes before baking, or cut the potatoes in half to reduce baking time to around 30 minutes.
- Prepare Sweet Potato Mixture: Scoop out the sweet potato flesh and mash well, alternatively add to a food processor and puree. To a large bowl, add the sweet potato, oat flour, egg, and tablespoon of olive oil. mix until combined. The mixture should be the texture of a thick batter or loose dough. It's quite a wet and sticky mixture, definitely not a smooth dough like regular pizza dough and not something you could roll out with a rolling pin.
- Form Pizzas:
- Large Pizza: Transfer mixture to a parchment-lined round pizza pan. Spread the mixture and shape the crust to ¼ - ½ cm thick.
- Mini Pizzas: Line a large baking sheet with parchment paper. Form mini pizzas using a 10 cm (4 inch) presentation ring for a uniform shape, or free hand for a more rustic circle. Aim for ¼ - ½ cm thick. This recipe makes about 8 mini pizzas.
- Bake Pizzas: Bake in a preheated oven until golden brown and cooked through, with the top dry to the touch. Bake large pizzas for approximately 25-30 minutes and mini pizzas for 20-25 minutes, depending on thickness.
- Add Toppings and Finish Baking: Top like a regular pizza crust. A little pizza sauce, some shredded cheese and your favorite toppings. Return to the oven for around 10 minutes.

Serving Suggestions
- Pizza Night - Make your Own
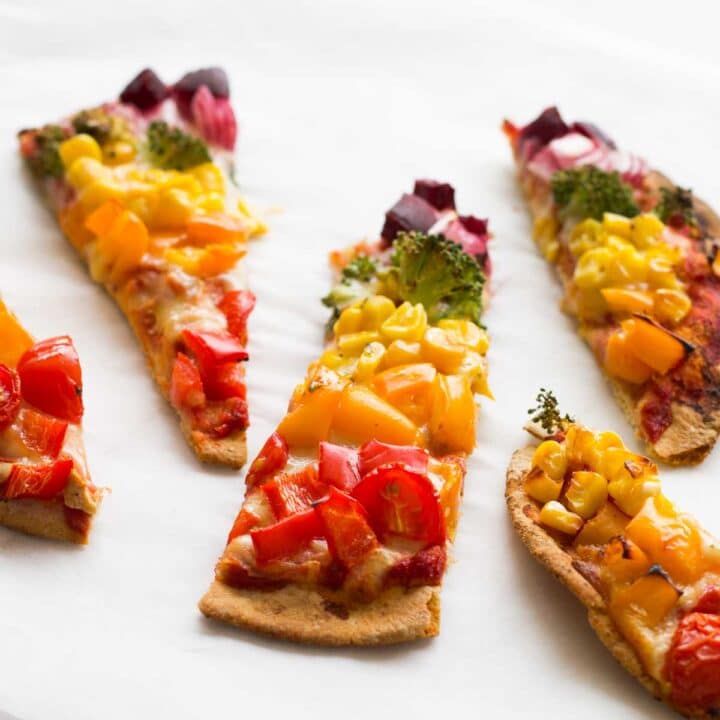
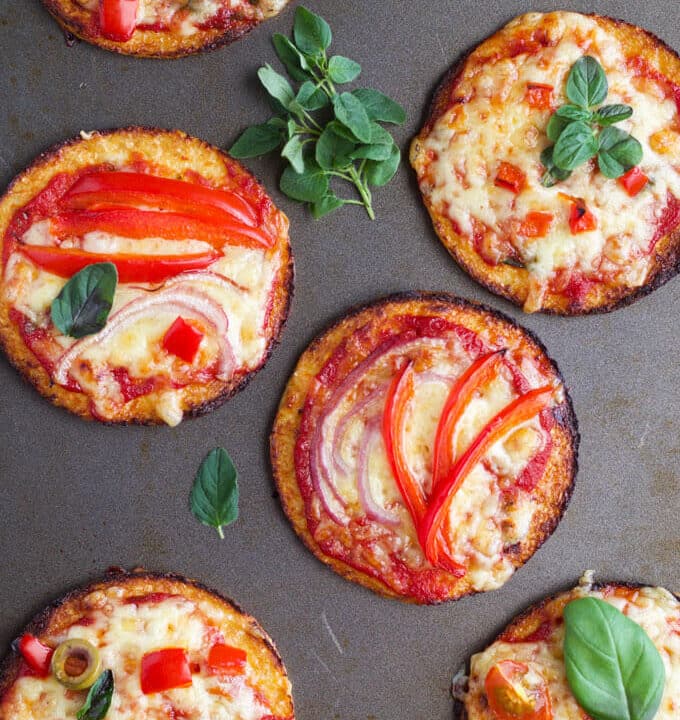
Make pizza night fun by letting the kids choose their own toppings. This works best with mini pizzas. Set up a table with tomato sauce, bbq sauce, vegetables, meat, and cheese, and let them get creative. Suggestions: roasted vegetables, bell peppers, mushrooms, olives, arugula, avocado, cherry tomatoes, red onion slices, corn, pepperoni, shredded chicken, ham, fresh basil, and oregano - Sweet Pizzas - Great for breakfast or snacks
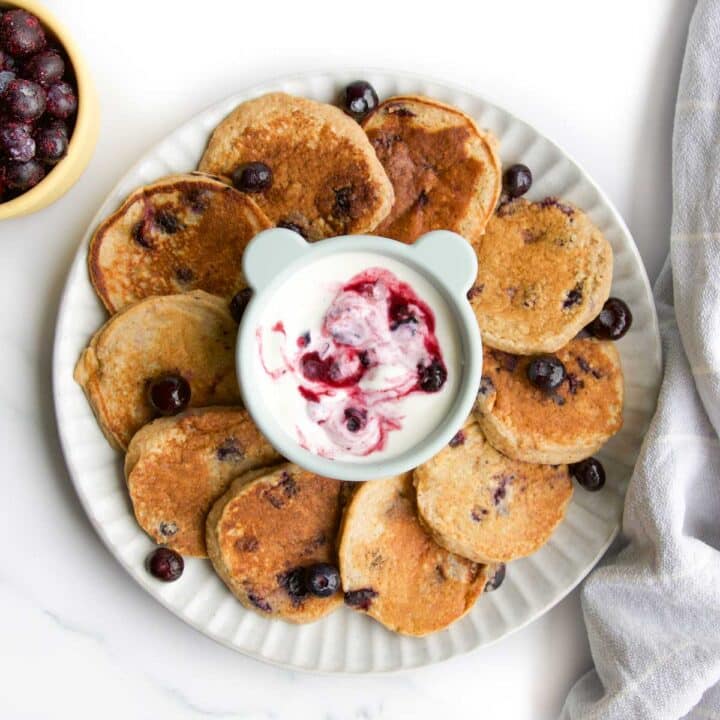
These sweetpotato pizza crusts are also great with sweet topping. Try them with peanut butter and banana, Greek yogurt and fresh berries, chia jam, or fruit compote. - Lunchbox Filler
This is a great recipe to use as a bread alternative. Fill them with your kid's favorite sandwich ingredients and pop them in the lunchbox.

Make Ahead and Storage Instructions
Pizza Dough: Prepare the dough up to 2 days in advance. Store in an airtight container and refrigerate until needed.
Cooked Bases:
Refrigerate: Store cooked bases in an airtight container in the refrigerator for up to 2 days.
Freeze: Place cooked pizza crusts in a single layer on a baking sheet and freeze until solid. Transfer to a freezer bag and freeze for up to 2 months.

Recipe FAQs
Yes, this recipe is suitable for babies after they have started solids and are developmentally ready, typically 6 months (plus). However, there are a few considerations to keep in mind
Egg Allergy: This recipe contains eggs, a common allergen. Start by offering small quantities of well-cooked eggs, as some babies can have severe reactions even to tiny amounts. Read more about eggs for babies.
Topping Considerations: Choose toppings carefully, considering sodium content and the size/shape of toppings to avoid choking hazards.
No, however steaming or boiling the sweet potato may result in the base being a little wet and you may have to add a little extra oat flour. Roasting will give the best flavour.
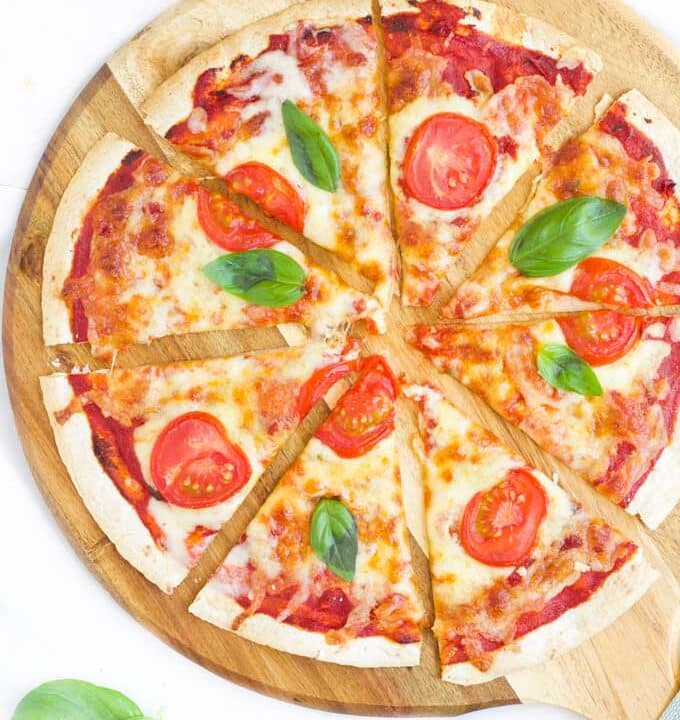
More Delicious Pizza Alternatives
Looking for more healthy kid recipes?Sign up for my free recipe newsletter to get new family friendly recipes in your inbox each week! Find me sharing more kid-friendly inspiration on Pinterest and Instagram.

Sweet Potato Pizza Base
Ingredients
- 340g (1¼ cup) Baked sweet potato, peeled and mashed (Approx. 1 large sweet potato or 2 smaller ones)
- 80g (⅔ cup) Oat Flour (Oats blitzed in blender until flour consistency)
- 1 egg
- 1 tablespoon Olive Oil
Instructions
- Preheat oven to 200c (400f) and line a baking tray with parchment paper (for mini pizzas) or line a round pizza pan (if making 1 large pizza).
- In a large mixing bowl mix all the ingredients until combined. (The mixture should be the consistency of a thick batter)
- Form small mini pizzas. I used a 10cm (4 inches) presentation ring to help make them uniform in shape. The mixture made 8 10cm pizza bases.
- Bake for 20 - 25 mins (for mini pizzas, a larger pizza base may take another 5-10 mins)
Traditional Pizza Toppings
- Top with your favourite pizza topping and place back in the oven for a further 5-10 mins.
Breakfast Sweet Pizzas
- Top with yogurt and berries, peanut butter and banana or chia jam.
Lunchbox Filler
- Fill two pizza bases with your favourite sandwich filling.




Ariane
This was super easy, quick and so customizable. I had hoped that involving my 2-year-old in the prep and the selection of toppings would mean he would be excited about eating them - he was excited but picked everything off after we sat down to eat (the things he had selected himself) and then took a few bites of the crust and spit it all out and put it on my plate. Oh well. I will make again for myself and my husband because it's healthy and easy!
Amy
Thanks Ariane. I love that your 2 year old was involved in the prep, its a shame he didn't enjoy them though. At least you and your husband liked them and hopefully, your little one will soon enjoy them too. 🙂