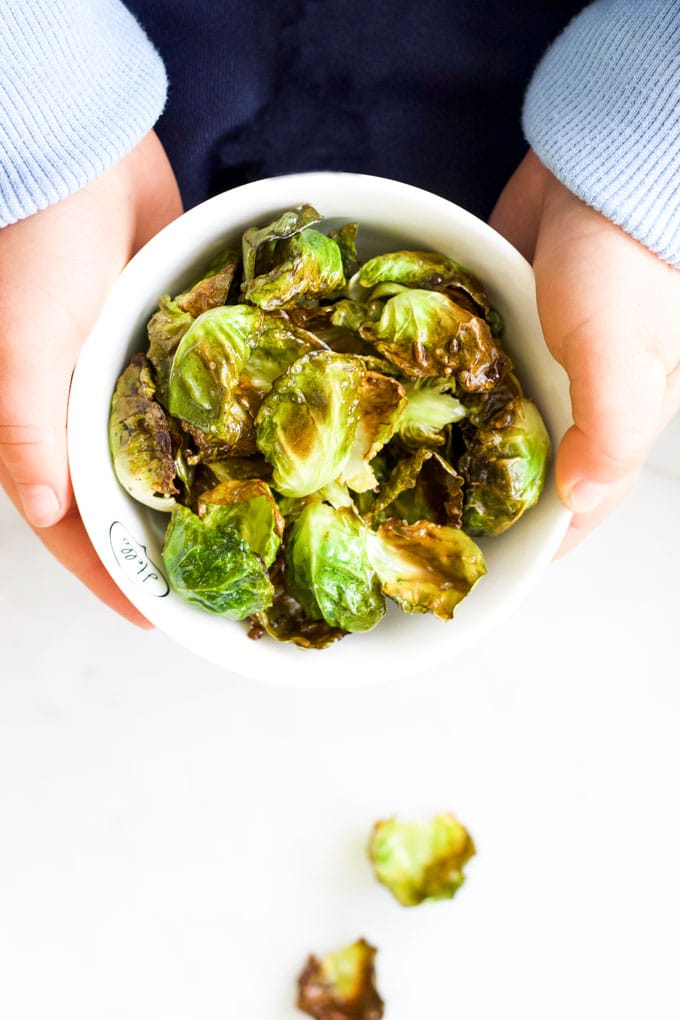
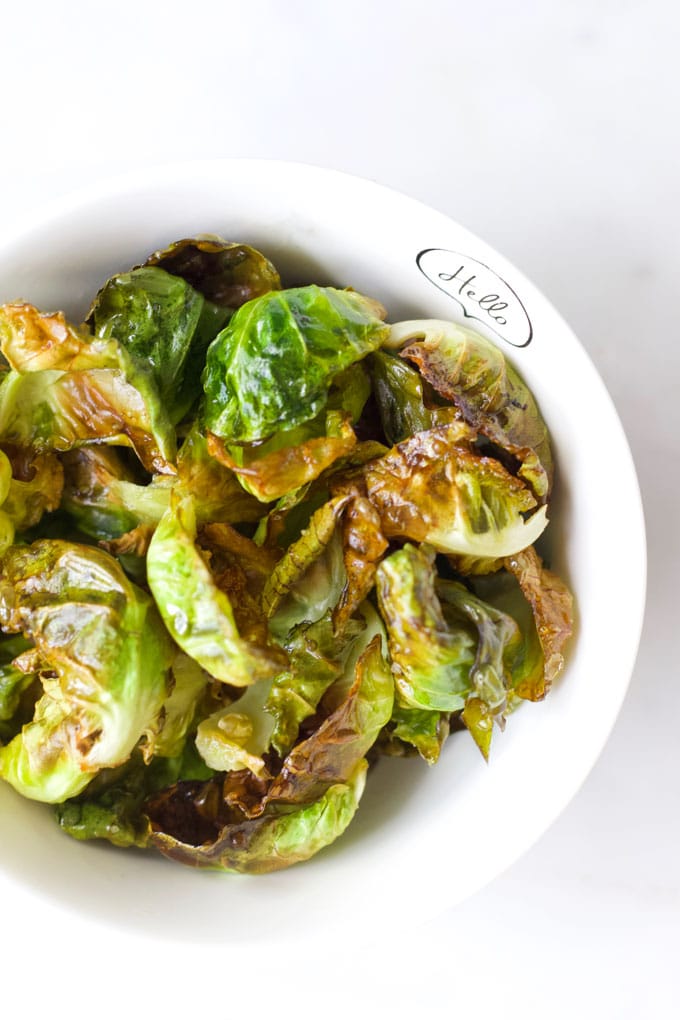
If there is any recipe that is going to turn your child into a Brussels Sprout lover it is this one. These Brussels Sprout Chips taste delicious and have a crispy texture that kids love. Watch your kids demolish a bag of sprouts in minutes!
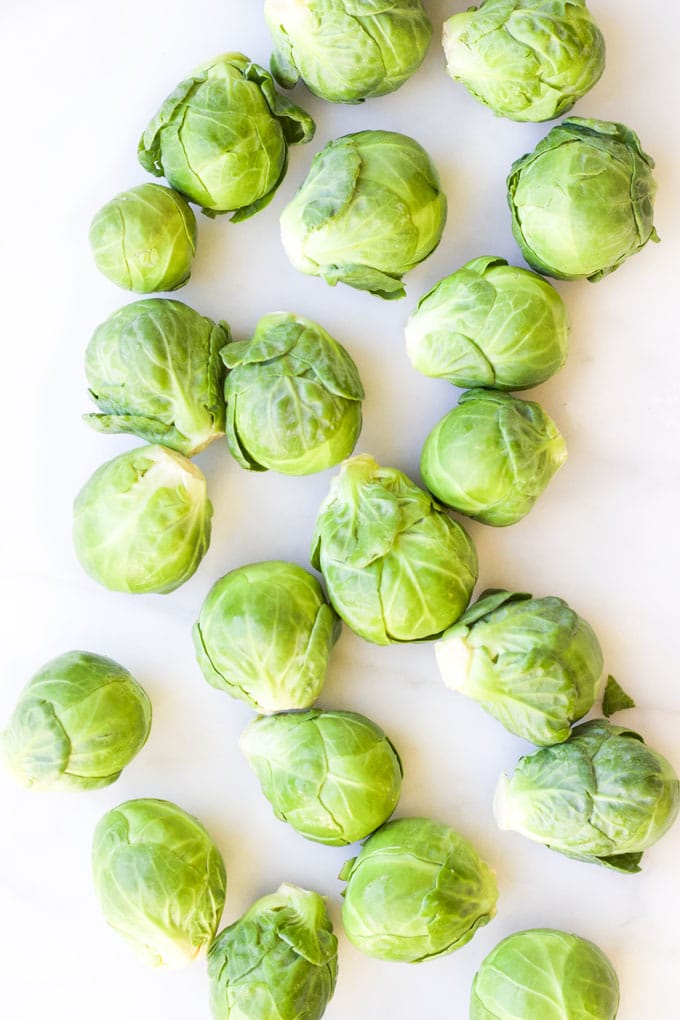
Brussels Sprouts may look cute but they have a terrible reputation. Normally when their name is mentioned children, (and adults), screw up their faces and shout yuk! However, their bad rep is a little uncalled for - it isn't actually the sprouts that are at fault, it is the way they are cooked.
Brussels Sprouts that are boiled or steamed to death taste bitter and have a limp texture. Is there any wonder that both kids and adults alike reject them? If they are cooked in the right way they are actually truly delicious.
When cooking vegetables for kids I always recommend cooking them in a way to take advantage of the natural sugars. This usually involves roasting or sauteeing and is exactly how I advocate cooking Brussels Sprouts. You want them nice and brown and extra crispy!
Brussels Sprouts Nutrition
Brussels Sprouts belong to the family of cruciferous veggies and, just like their family members (kale, cabbage cauliflower, broccoli etc), they are a powerhouse of nutrition. They are
- Rich in Vitamin K (important for blood clotting and bone health)
- High in Vitamin C (helps promote iron absorption and good for the immune system)
- High in Fibre (helps support regularity and gut health)
- Contain small amounts of vitamin B6, potassium, iron, thiamine, magnesium and phosphorus
How to Make Brussels Sprout Chips
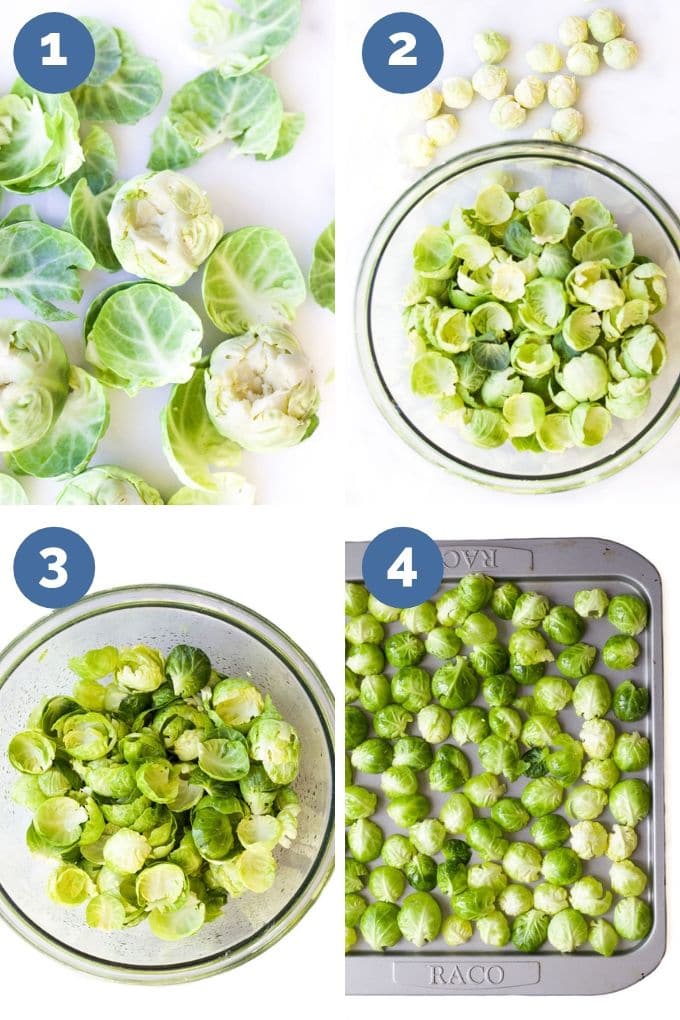
- Remove a large piece of the stem/core from each sprout, using a sharp paring knife. I find it easiest to cut a triangle from each side. The outer leaves with automatically fall off.
- Peel off each leaf, taking care not to rip the leaves. This will take a little bit of time initially but once you get the hang of it you will get faster. Continue to cut a thin slice off the stem at the bottom to help release each layer. Add the leaves to a large mixing bowl and stop when you have removed all the leaves and you are left with only the core of the sprout.
- Coat in olive oil, add olive oil (and spices if desired) and gently massage the oil into the leaves.
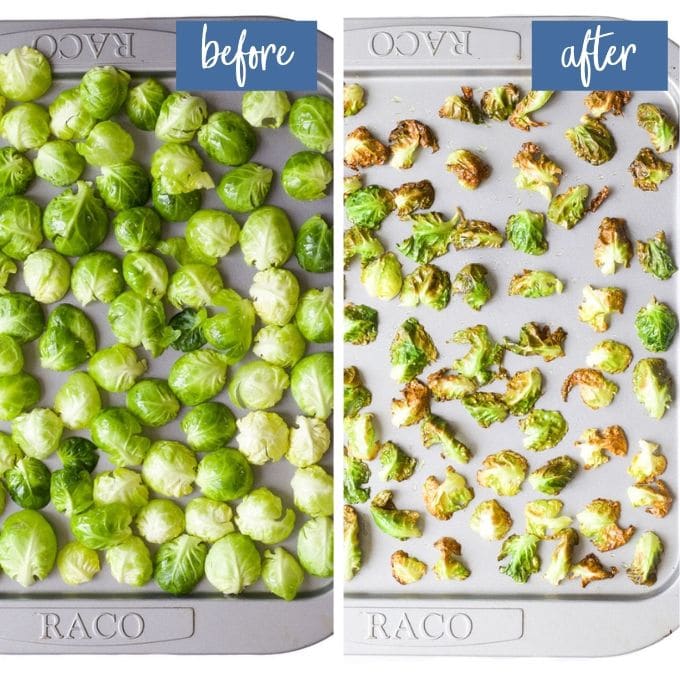
- Place the leaves, in a single layer, on the baking tray. Although not necessary, placing all of the leaves facing down on the baking tray (see picture) helps to ensure they cook more evenly. Some leaves may stick together after coating in oil so just check that you are adding only a single layer to the tray.
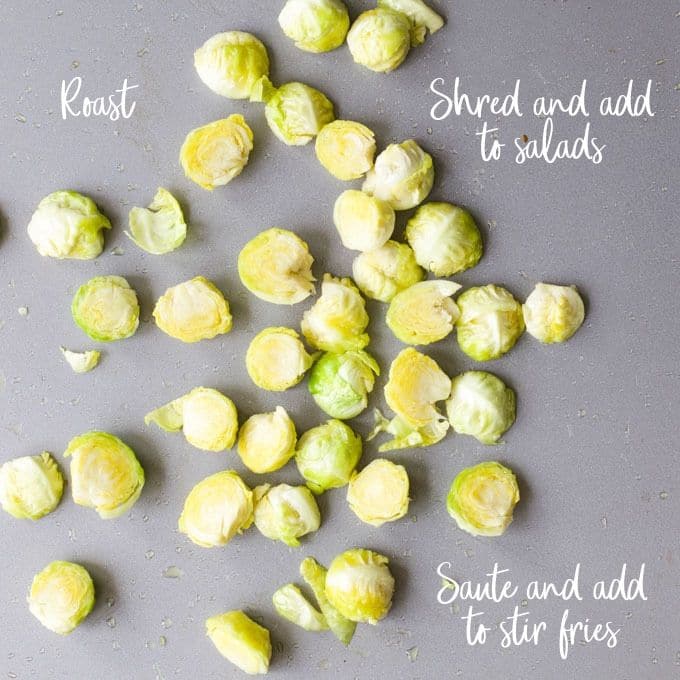
What to do With the Centre Core
After peeling you will be left with the middle of each Brussels Sprout, which is too small to peel. Don’t throw them away, they are perfectly edible and can be halved and roasted or shredded t0 use raw in a salad or sauteed and added to a stir fry.
Flavouring Ideas
I have kept these chips plain, just olive oil and a little salt (leave the salt out for babies and young children). If you want to add a little more flavour you could try
- Pizza Flavoured – Add mixed Italian herbs to your oil and sprinkle with grated parmesan before baking.
- Lemon – add lemon zest to your oil and a little sumac.
- Parmesan – sprinkle the chips with freshly grated parmesan or some nutritional yeast before baking
- Spiced – Add a little smoked paprika and cumin to the oil before coating.
- Sesame – Coat in sesame oil and sprinkle with sesame seeds
Making Brussels Sprout Chips with Kids
Peeling Brussels sprouts can be tedious work (until you get the hang of it), but it’s a great way to engage your kids in the kitchen.
I usually give my children separate tasks, according to their ability.
Great Tasks For Younger Children (2+)
- Massaging the leaves - allow your children to gently massage the leaves in the olive oil, taking care not to rip the leaves.
- Laying the leaves on the tray - Can they make sure they are in a single layer and facing down?
Great Tasks for Older Children (6 + or depending on experience)
- Peeling the leaves - Younger children will struggle with peeling the delicate leaves but it is a great task for older children. My eldest will happily peel away for at least 15 mins.
- Removing the core - Demonstrate then help/supervise your child to use a knife to remove the core.
How to Store Brussels Sprout Chips
Brussels Sprout Chips are definitely best when fresh but leftovers can be stored, covered, at room temperature for 1-2 days. (Although I very much doubt you will have leftovers to store - these little chips are addictive and don't hang around long!)
If there is any humidity, they’ll get limp pretty quick
Do not refrigerate or freeze.
You may also like
Have you tried this recipe? I love receiving your feedback. Please rate and leave a comment below or tag me on Instagram @healthylittlefoodies
Looking for more healthy kid recipes?Sign up for my free recipe newsletter to get new family friendly recipes in your inbox each week! Find me sharing more kid-friendly inspiration on Pinterest and Instagram.
Brussels Sprout Chips Recipe
Ingredients
- 450g (1 lb) Brussels Sprouts
- 2 tablespoon Olive Oil
Instructions
- Pre-heat oven to 175C / 350F
- Remove a large piece of the stem/core from each sprout, using a sharp paring knife. I find it easiest to cut a triangle from each side. The outer leaves with automatically fall off.
- Peel away each layer of the sprouts, taking care not to rip the leaves. Continue until you get to the core. As you get closer to the middle, cut a thin slice off the stem at the bottom to help release each layer.
- Add the leaves to a large mixing bowl and add the olive oil. Gently massage the oil into the leaves. Place the leaves, in a single layer, on the baking tray. Although not necessary, placing all of the leaves facing down on the baking tray (see picture) helps to ensure they cook more evenly. Some leaves may stick together after coating in oil so just check that you are adding only a single layer to the tray.
- Place the leaves, in a single layer, on the baking tray. Although not necessary, placing all of the leaves facing down on the baking tray (see picture) produces a better result. Some leaves may stick together after coating in oil so just check that you are adding only a single layer to the tray.
- Bake for 10-15 minutes., until the leaves are lightly brown and crisp.
- Season to taste. (Do not add salt if serving to a baby / young child)
Recipe Notes
- Pizza Flavoured – Add mixed Italian herbs to your oil and sprinkle with grated parmesan before baking.
- Lemon – add lemon zest to your oil and a little sumac.
- Parmesan – sprinkle the chips with freshly grated parmesan or some nutritional yeast before baking
- Spiced – Add a little smoked paprika and cumin to the oil before coating.
- Sesame – Coat in sesame oil and sprinkle with sesame seeds
Nutritional facts


Jen
Tasty, but only bake for 5 minutes! After that they burn to a crisp.
Amy
Thanks for the feedback, Jen. You really do have to keep an eye on them. I found they needed longer but I guess ovens run at different temperatures. Glad you managed to salvage them and enjoyed them. 🙂
Jessamine
Actually surprised at how good these were and 2 out of the 3 of my kids loved them. Quite a bit of work though.
Amy
Well I'm glad it was enjoyed by the majority! Thanks for the 5 stars, Jessamine 🙂
Andrea
thanks it looks great, i mean the recipe